This article provides a step-by-step guide on how one can sign up for a company trial account and the initial setup.
Note: When you set up your Time Doctor account for the first time, you will receive two weeks of free access to all available features without limitations. You may choose to subscribe to one of our paid plans while still on trial or even after the trial period.
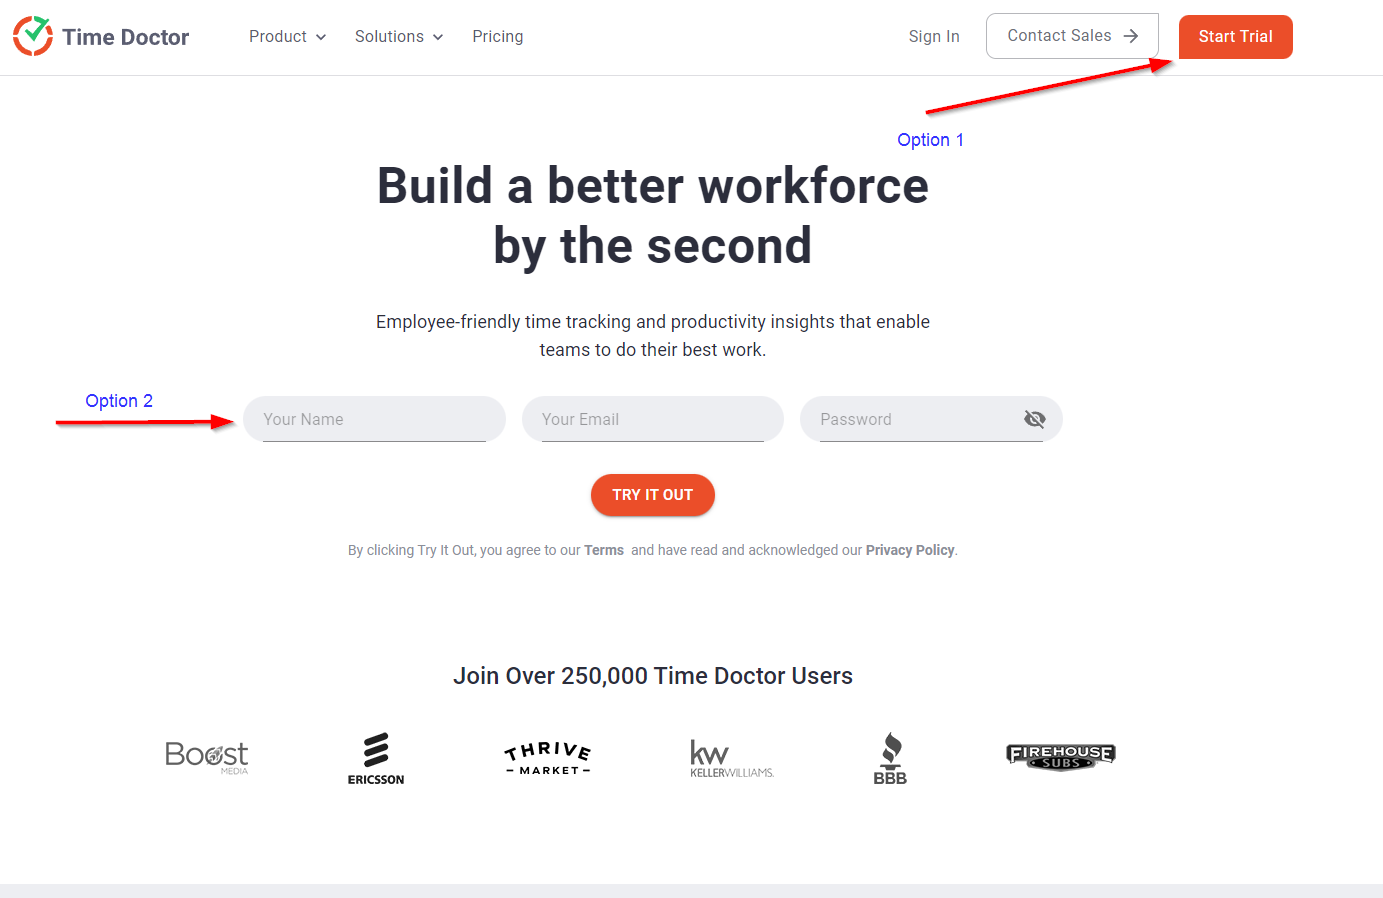
1. To get started, navigate to the Time Doctor website. There are two ways to sign up for a trial account. You can either click on the Start Trial button you will find at the upper right corner of the page or just simply fill out the required information on the main page and click Try It Out
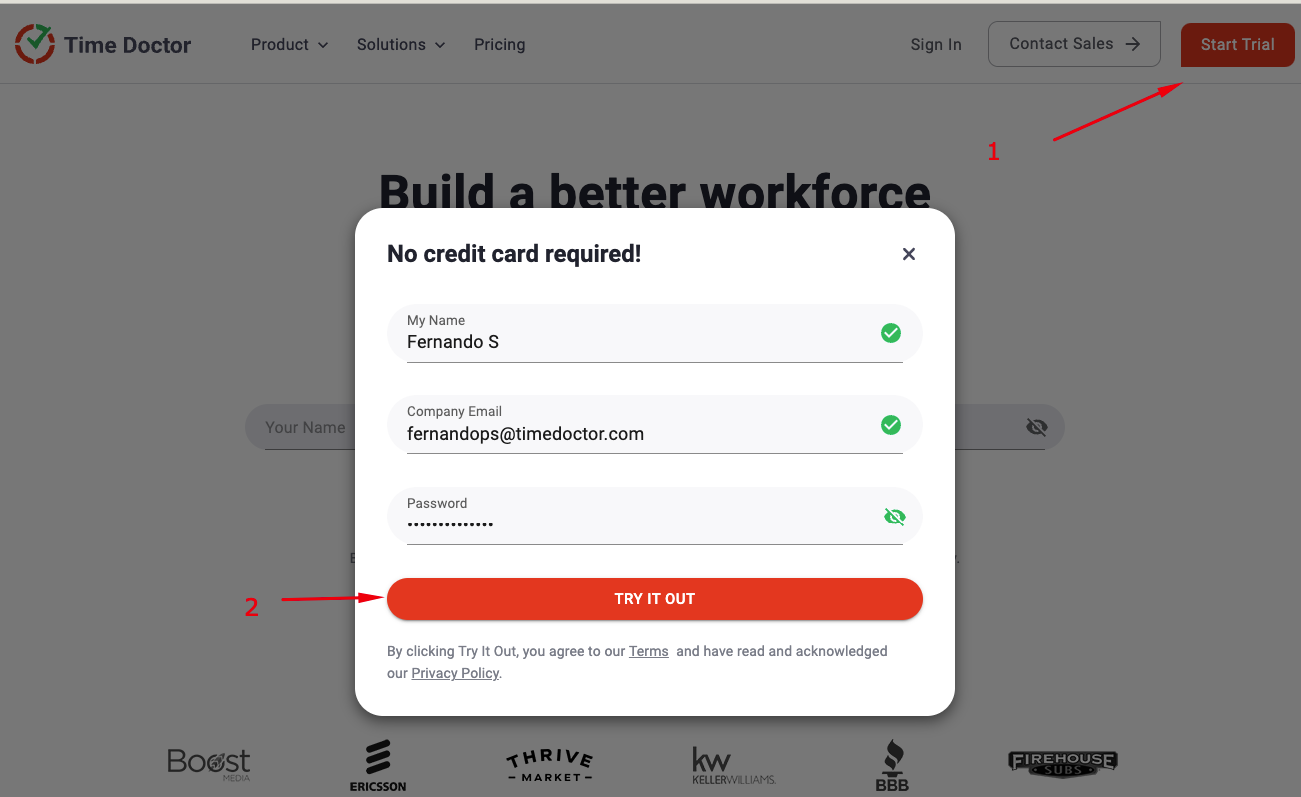
2. You will be required to enter your Name, Email address and create your personal password. Please note that this email address will be your login email.
3. In creating your password, make sure to create your password with the following rules in mind.
-
- At least 8 characters
- Must include one uppercase letter
- Must consist of one lowercase letter
- Must have at least one numeric character
- Include one special character (spaces are not allowed)
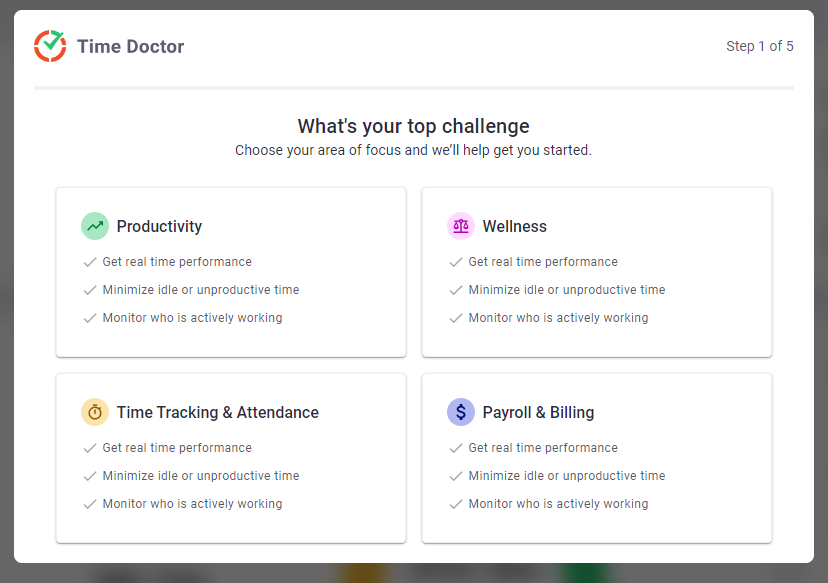
4. Upon clicking the TRY IT OUT button, it will take you to the Onboarding page, which will help walk you through setting up your Company Account. Simply follow the prompt and select what best suits your team or company.
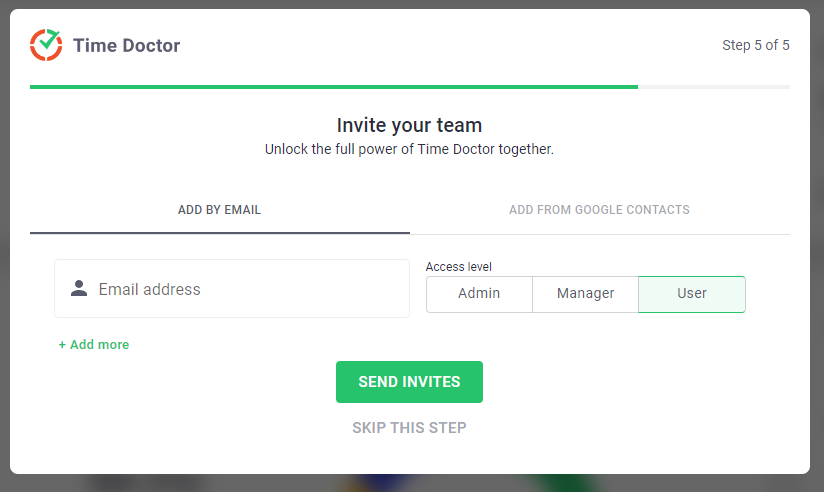
5. The final page on this onboarding will guide you through inviting your team to join your Time Doctor company. These will be the users who will track time within your company. We recommend inviting some users so that you can see and evaluate Time Doctor reports with actual data.
You can set the appropriate access levels of the users you will be inviting to join your team. Refer to this related article about User Access Levels to understand more about the different user access levels Time Doctor has.
Upon completing the above steps, you will then be redirected to your Web App Dashboard for the first time. You may notice that it doesn’t have any data, but this is perfectly normal in the beginning. Once somebody in your team starts to track some time, you will be able to see and explore the value provided by Time Doctor.
Congratulations! At this point, you are all set to start using the app. We recommend going through this article to further Choose the Best Configuration for your Company or Team.
Some Reminders:
☝️ If you are the Company Account Owner and you would like to use the app to track your work, you will need to install the Desktop App on your computer after signing up for the trial. You can navigate to the Download page on your web app, where you can access the downloadable installer of the Interactive App. Alternatively, you may refer to this article for steps on How to Install the Time Doctor Interactive App.
☝️ If you skipped the page in the Onboarding Process where you are asked to invite your team, you may still add or invite your team members by navigating to the Invite Page on your Web App and start inviting users. This step-by-step process will guide you through Inviting Users to your Time Doctor Account.
Please check out the Time Doctor Training 101 video to help you and your users get started in using Time Doctor App.
Visit our Help Center to learn more about our product. If you have any questions, please email us at support@timedoctor.com. We offer 24/7 support.