Time Doctor companies can use Okta to log in to Time Doctor. Time Doctor has integrated Okta OpenID Connect making it easy for employees of companies to log in and have an account automatically created. They can hit the ground running with little effort from the company admin.
Before we go further, please make sure you have the following:
- An active Okta account
- An active Time Doctor account
Add Time Doctor Okta application
The first step to integrating Okta with Time Doctor is to add the Time Doctor application on Okta. To do this, log in to your admin dashboard on Okta and navigate to the Admin Section. Ensure you’re using the Classic UI, not the Developer Console. This will make it easier for you to follow this guide.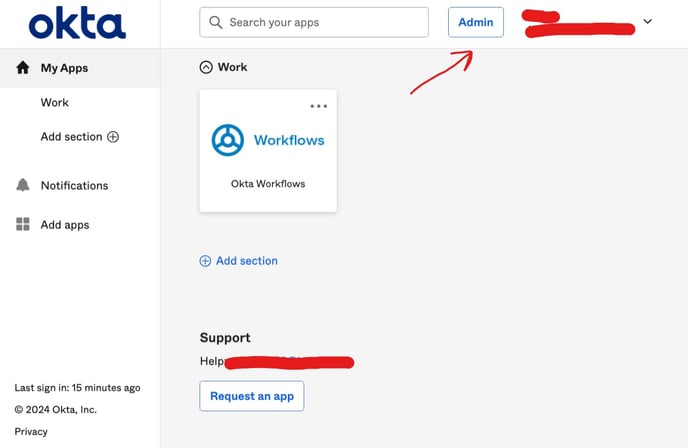
Click on Applications. Then click Browse App Catalog. Type Time Doctor and select Time Doctor App.
Click +Add Integration. On the next screen click Done. 
On the General Settings page that opens, select the options you need and click Done.
Assign your Okta Time Doctor application to the correct people
Click on the Assign tab. Here, you’ll define who should have access to the Time Doctor application. You can also assign the application to a group.
For this guide, we’ll assign the application to the group Everyone so that anyone who is a part of this Okta account can automatically access the Time Doctor application.
When the assignment modal pops up, click Assign on the Everyone option and then click Done. If everything was done correctly, when you select “Groups” under Filters on the page, you should see “Everyone” on the list. This means that this app has been assigned to the Everyone group.
Define the scope of the Time Doctor application
The scope of the application will determine what Okta will include in the token it sends to Time Doctor. To define your scopes, you need to go to the authorization server and set these on the Scopes tab. From the menu on the header, hover over Security and click API in the dropdown menu. On the API page, select the Authorization Servers tab and then click on the authorization server you’ll use. In this guide, we’ll use “default”. Copy the Issuer URI as you’ll use this to configure Time Doctor.
Click on Scopes on the new page that opens up. Ensure the following scopes exist: “openid,” “profile,” “email,” “address,” and “phone.”
Obtain your Client ID, Client Secret, and Issuer URI
- In the left menu, select Applications. When the page opens, click on the Time Doctor application you just added. On the general page of this application, click Sign On. Copy the Client ID and Client secret.
- On the header menu, hover over Security and click API. On the Authorization Servers tab, copy the Issuer URI for the authorization server you’ll use to authenticate all your users on the Time Doctor application. We selected “default” above.

Adding Okta to Time Doctor as a provider
Adding SSO to Time Doctor is the easiest part of this guide. The following steps assume you’ve already created an account on Time Doctor. If you haven’t, you can use this link to create one.
Log in to your account, click on Settings and then select Company Settings.
Scroll down to Single Sign On (SSO). Click Add Provider and select Okta as your provider. Fill out all your configuration details and click Save.
Note:
Setting a domain is optional. You can specify which domains you want to allow to find your company when searching for SSO companies. Adding any domains to this field will have the following effects:
- Any domain you specify will allow anyone with an email address on that domain to find your company on Time Doctor. This will only happen if you give them access to your application on Okta as well.
- Anyone using an email address from one of the specified domains will be able to join your company on Time Doctor, even if you haven’t manually added/invited and/or provisioned them. They’ll be automatically given default settings.
If you don’t add any domains, then no one will be able to find or join your Time Doctor company until you manually add/invite them.
And that’s all for configuring Okta SSO.
